1 2 3 4 5 6 7 -->

Friday 28 March 2014

Woo hoo!

Happy Friday!

I hope your week has been great! I'm super excited today as someone on Ravelry has made my cute crochet stars and they look fantastic! Yipeeeeee!

If you make them I would love it if you could send me your pictures :-)


Have a great weekend,

SSxx

Thursday 27 March 2014

Magic Circle Tutorial

Afternoon!

Thanks so much for all the lovely responses to my cute crochet stars pattern, I really appreciate them and would love to know if any of you complete the project.

My star pattern uses the magic circle (or magic ring) to start it off. This is commonly used in crochet patterns worked in the round as it leaves a much smaller hole at the top or middle of your project than if you make a foundation loop consisting of chain stitches and a slip stitch. 

When I first learned this technique I found it pretty tricky and fiddly but once I mastered it I was amazed at how versatile and useful it could be.  

This photo tutorial (photos courtesy of a very patient Pete) explains using a magic circle step by step. Apologies if you find it a little basic but I wanted to make it as clear as possible. 

Quick note: this tutorial was made by me, a right-handed crocheter. If you are left-handed the method is the same only you will be crocheting clockwise into the ring rather than anti-clockwise as shown in this tutorial. 


1. Start by making as slip-stitch as you would when beginning any crochet project

Yarn over your fingers......


.......pull the top loop under the bottom loop


2. Insert your hook into the loop as normal. BUT, do not pull the slip-stitch tight. 


Instead you must keep the circle open. 


3. You will need to reposition the yarn as at the end of step 2 you will have the working yarn in your right hand. 

Put your middle and fourth fingers of your left hand into the loop to keep it open and switch the working yarn into your left hand ready to crochet. Your hand position should look like the picture below. 


4. Make a chain stitch to secure the ring. This stops it closing up (this chain stitch does not count as a stitch).


5. We are now going to work double crochet (US single crochet) into the centre of the circle. 

You will be crocheting over two strands of yarn- the loop and the tail end of the yarn. 


6. Make double crochet stitches (or whichever stitch your pattern stipulates!), one next to the other  into the centre of the circle.


7. Now this is where the 'magic' happens. Once you have made the required number of stitches (6 in this case) gently tug on the tail end of the yarn. As if by magic the circle closes neatly up!


8. Make a slip-stitch into the first double crochet to join the round. Voila! As you can see you have a lovely first round of stitches with no gaping hole in the middle!


Easy yes??? Like all things crochet this does take a little bit of practice but with perseverance you will pick it up in no time!

To finish this post I thought I would share with you one of my favourite applications of the magic circle- making granny squares!

Traditionally you start a granny square by making 4 chains and joining into a ring with a slip-stitch. You then make your first round of stitches into this ring. I however hate making chains and slip-stitches so using a magic circle to form the centre of my granny squares is my preferred method. 

Follow steps 1-3 as for above to get your ring. Then, instead of making 1 chain to secure the ring as described in step 4, make 3 chains. These 3 chains count as your first treble stitch of the round. 


Being careful not to close the ring make all of your stitches for the first round into the circle.


Gently pull the tail end of yarn and the circle will close....


.....and here you have it. Round one of your granny square completed all into the centre of a magic circle.


Pretty good don't you think?!

I hope you enjoy this tutorial and if you have any questions about using the magic circle please do get in touch. 


Happy crocheting!

SS xx

www.deramores.com/blog-awardsThis blog entry is my submission to the Deramores Blog Awards 2014. Deramores is the UK’s number one online retailer of knitting and crochet supplies. 

Tuesday 25 March 2014

.....and some outtakes- Holga makes friends with stars

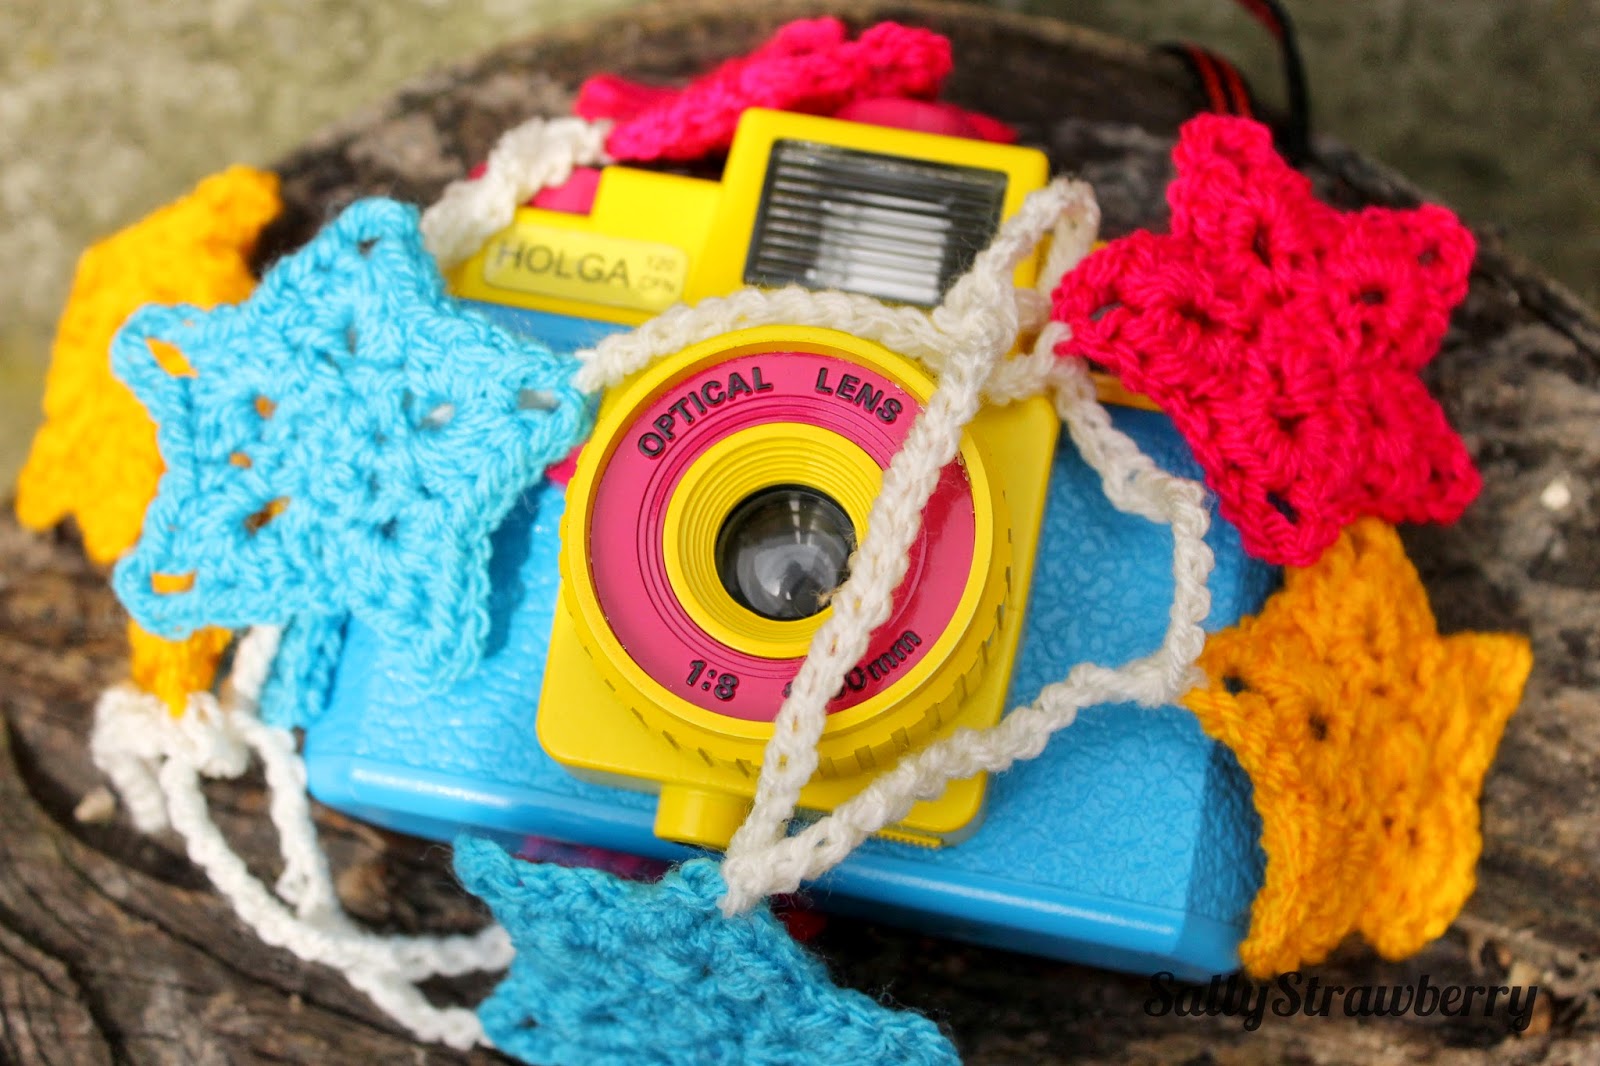
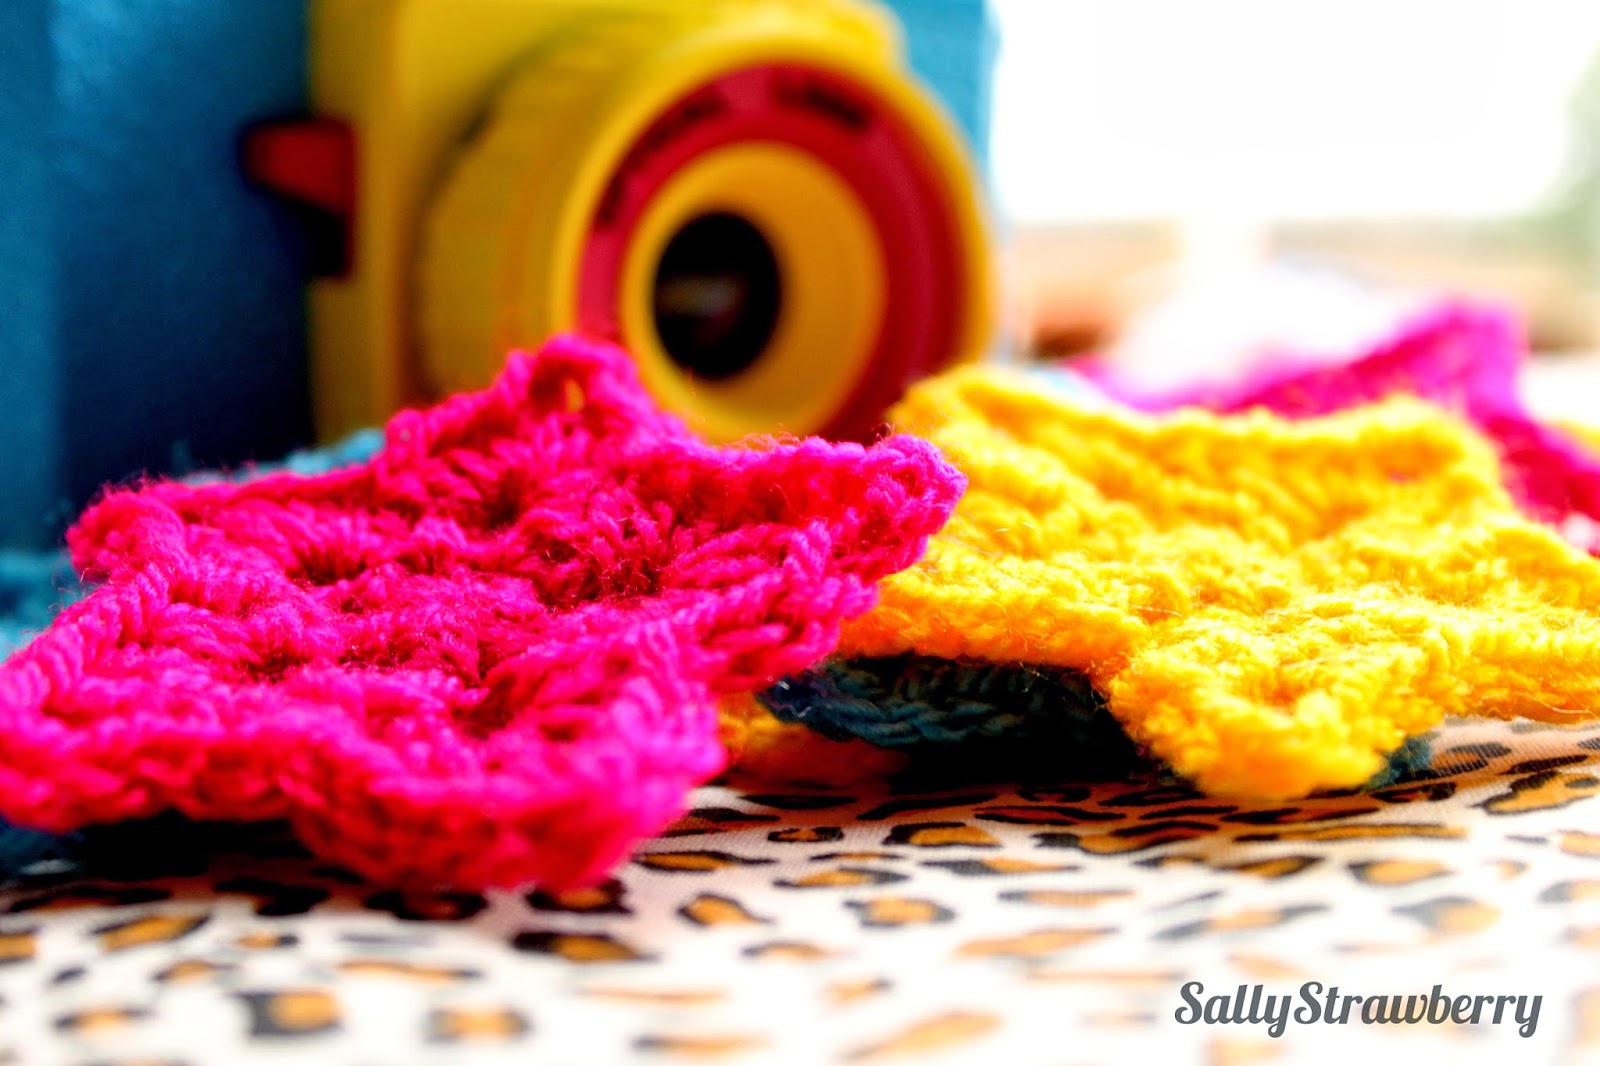
I love taking random photos of things 'just for fun'. Whilst photographing my cute crochet stars we realised that I had coincedentally made them  in matching colours to Pete's Holga camera. Cue some  silly 'Holga makes friends with stars pictures'........


Retro pictures

Retro pictures

Retro pictures


You know, I quite like them!

SS xx

Monday 24 March 2014

New Free Pattern- Cute Crochet Stars

Morning!

So  I have finally written up a pattern. I gave you a sneak preview on Friday but here are the stars in their full glory!


Easy Crochet Stars


Easy Crochet Stars


Easy Crochet Stars

These stars can be used individually as hanging decorations or even coasters, but I like them best as bunting! They can also be made in any colours for any occasion and are great for using up odd scraps of yarn! The pattern can be found under my patterns tab at the top. 

I would love to hear if you have a go at these!

Happy crocheting :-)

SS xxx

Linking in with Handmade Monday for the first time in what feels like forever.....


Friday 21 March 2014

Tuesday 18 March 2014

Crochet, RSI and me

Crochet……..

What do you think when you hear this word?

6 months ago when I heard the word ‘crochet’ I would to be filled with thoughts of all the lovely things I had seen on Ravelry and Pinterest that I could make whilst spending lazy days on the sofa watching back to back episodes of The Walking Dead or catching up on all those classic films I ‘should’ have seen but hadn’t. I had just finished an intensive research PhD and was having a bit of breathing space, exploring my creativity with hook and yarn and recuperating.

Now when I hear the word ‘crochet’ the word that comes to mind is ‘ouch’! Seconded by ‘should I be doing this?’ ‘how much crochet did I do yesterday?’. I can no longer crochet for hours in front of the TV, as in the summer after an intense 2 week period of crocheting for almost 6 hours daily, I succumbed to Repetitive Strain Injury, or RSI for short. 


The medical definition of RSI is “a general term used to describe the pain felt in muscles, nerves and tendons caused by repetitive movement and overuse.” (Source link- NHS Website)

RSI is usually caused by carrying out continuous repetitive activity for prolonged periods of time without taking adequate rest breaks. It can also be caused by poor posture and stress, with the most common symptoms including pain and/or tenderness, tingling or numbness and also cramp.

So, what are you doing when you crochet? You are carrying out small repetitive movements of your arm, repeatedly for long periods of time, often in my case with bad posture added in. No wonder so many crocheters suffer from this condition!

The thing about RSI is that if you stop the repetitive activity as soon as you get an inkling of pain, rest for a while, and moderate your crochet time (plus take regular breaks) you should recover pretty quickly. If however, like me you start crocheting too soon after an injury you can end up in a worse position than you started in. 


After my initial injury I had a week off from crocheting. On the first day I didn’t feel pain in my wrist I crocheted for 3 hours. The next day I was in agony- I couldn’t cut up food, I couldn’t write and I couldn’t use the computer. The pain extended all the way down my right side affecting my right wrist, elbow, shoulder and side of my neck. In the end I had to make the decision to take a month off from crochet (knitting was also too painful) and from the computer to let my arm recover. This wasn’t easy as I find it hard to totally relax and switch off and I missed crocheting so badly! In the meanwhile I read a lot of books and tried to remain positive. As the weeks went on I realised that I could cut up an onion without feeling pain, then I could use the computer for increasing amounts of time, then finally I could knit and crochet- not for very long mind! I am now at the point, 6 months down the line where I can do everything I did before, but in moderation and with lots of rest breaks. For example I try to have a couple of days off a week from crochet. I have also found that exercising has been the best solution for me. I now swim twice a week and I think it has made the world of difference. My wrist still isn't ‘right’. It clicks and grinds inside (it sounds pretty horrible!) but I only have minimal pain. Whilst I believe I may need medical intervention at some point, if I am incredibly careful and keep the strength up in my arm through swimming then I can pretty much function as before. 


At this time I was just crocheting for fun, but what if your career depended on your ability to crochet (and to tight deadlines too)? 

Joanne Scrace of Not So Granny is a designer of beautiful contemporary crochet and knitwear and says that RSI is always at the forefront of a designers mind.

 
Photo by Kat Goldin
“I first noticed pain when I was rushing for a knitting deadline last Easter and I had a shocking bout of pain crocheting with a particularly resistant yarn over Christmas. I find that working on either craft for too long (in terms of both at a sitting and for too many weeks) can cause me pain. With knitting the pain tends to be in my shoulder and wrist, crochet affects the elbow too. It’s my right side that's affected each time. It’s really scary because this is both my livelihood and my passion and joy.Where practical I try and alternate projects so a crochet project follows a knitting one and vice versa. I have also looked carefully at my techniques and tried to improve them to minimise movement and stress. This has improved knitting strain a lot. I try to avoid or limit work that is at a very tight gauge as this works the joints harder. I've found that doing some strength training has helped too as it is building up the compensatory muscles in my arms, creating a better balance.”


Both Joanne and I injured ourselves from too much knitting and crochet. Daisy Jones of Lazy Daisy Jones is a blogger and crochet addict, who has also suffered from RSI recently. However, her problems are attributed to an independent injury, exacerbated by crochet. I posed a few questions to Daisy.

SS: When did you start experiencing pain? Do you think there was a particular trigger? Do you get pain in one specific area or is it more generalised?

LDJ: I think I had previously banged my arm and bruised my elbow as this is where the pain was most intense. Long sessions of crochet did not help and possibly aggravated the pain.

SS: Are there particular stitches that make the pain worse or alleviate it? If the injury was caused by crochet, are you ok knitting for example?

LDJ: I do not knit! Therefore long hours of granny squares over the course of a week did not help with the pain.

SS: Do you have any mechanisms to cope with the pain or do you just put up with and work through it?

LDJ: When the pain started I took Nurofen lots of it!

SS: If you have had to completely stop crocheting, what did you do to stop yourself going insane?!

LDJ: Luckily I sew; therefore I turned to my faithful old friend ‘Jenny Janome’.

SS: How have you changed your working practices to speed recovery and prevent re-injury?

LDJ: I try to rest after an hour of crochet, do some arm stretches. I have also changed my seating position on the sofa, making sure I have plenty of arm room.

My cure for this injury was a visit to the doctor and a have large injection of cortisone into my elbow.

............................................................


It is clear to see that improving technique and posture is key to both recovery and preventing RSI in the first place. As is taking regular breaks, stretching and exercising. Alternating activities is also beneficial, with Joanne alternating regularly between knitting and crochet and Daisy turning her hand to sewing.

I think it is vitally important to recognise the signs of RSI early to prevent irreparable injury. But I also think it is important to spread the word that crochet can be ‘dangerous’, that RSI can effect anyone, and that whilst it is great to crochet for hours and hours in front of the TV, you may be harming yourself without realising. The 3 things I tell my new crochet students are:

1. Sit up straight on a proper chair (no lounging on the sofa which I am definitely guilty of)

2. Take regular breaks (a wrist stretch every half hour and a proper break every hour)

3. Use ergonomic crochet hooks*

4. Crochet is incredibly fun, rewarding and addictive so follow the 3 points above and you will have years of crochet ahead of you!

*A quick note on ergonomic crochet hooks. These hooks are designed to be easy to hold and minimise the strain on your hands and wrists- they ‘work’ with your body. There are many makes out there so try a couple and see how you get on.

                            Joanne’s favourites: KnitPro, Tulip, Clover Amour                     
                            Daisy's favourites: Bamboo handled hooks
                            My favourites: KnitPro, Clover Soft Touch


I would like to say a massive thank you to Joanne and Daisy for contributing to this post. I believe it is a really important subject, but there is also a bit of stigma attached to it, especially if it affects your work. I hope that this post will make others suffering from RSI from their job or favourite hobby feel less alone. It appears to be a much more common condition amongst crocheters than at first glances!

If you have any experiences with RSI from knitting or crochet and would like to share any hints and tips you may have I would love to hear from you,

SS xx

Monday 17 March 2014

Sachertorte

Evening!

For those of you who are Bake-Off addicts you may remember that the contestant had to make a Sachertorte as one of the no-recipe challenges.  This torte is a Viennese speciality (apparently Dec 5th is National Sachertorte Day!).

I've been wanted to make one of these ever since. I bake quite a lot but always the same things....mostly victoria sponges that I whip up in 10 mins off the top of my head. This looked way more involved and a bit of a challenge but achievable nonetheless.

We were celebrating our friend Camille's birthday Friday so took it as the perfect opportunity to give the cake a go. The recipe I used was in the book '100 Cakes and Bakes' by Mary Berry. 

It is a funny old recipe.....no fat, no flour. Instead it uses ground almonds and the amazing power of eggs to retain air when whisked (I still marvel at this!). It also uses a lot of dark chocolate! The oh so shiny icing is a mix of dark chocolate and double cream and the piping is done using melted white chocolate. 

I'll confess, it did burn a tiny bit, although I managed to scrape the worst of it off, plus icing hides a multitude of sins! It was also the first time I have tried to pipe lettering onto a cake and with only a little bit of white chocolate I didn't have enough to practice first- it just had to go straight on to the cake. So here you are.......

Not perfect, a bit rough around the edges but I was pretty pleased with it....


How did it taste you may ask? Not wanting to blow my own trumpet too much IT WAS ABSOLUTELY BLOOMIN' DELICIOUS!!!

Have a go and let me know how you get on,

SS xx

Thursday 13 March 2014

Blogging- 8 months on

Hiya,

I cannot believe I have been blogging regularly for just over 8 months! I was thinking of doing a 6 month round-up soon but when I actually did the sums it has been 8 months! Wow, I'm impressed by my perseverance. I'm also ashamed to say that I have about the same number of posts unpublished as published. Some are just titles with a couple of random thoughts or ideas. Others are ones that I really ought to get published ASAP! So, as is typical with procrastinators, I start a new post rather than finish off older ones. 

When I started blogging back in July I wasn't really aware of the huge number of fantastic blogs there were out there. This is partly due to being a PhD student with a very hectic schedule (and I wasn't so prone to procrastination then), and I don't think you know much about the game unless you are part of it, especially where craft blogs are concerned. I followed Attic24 and a couple of other crochet-based blogs but that was it. I am now overwhelmed with choice and read a whole host of different blogs on a wide range of topics (usually craft-related still though).

I thought it would be interesting to go back to my first ever blog post back in July. I had just graduated with a PhD in cancer research and I was really struggling to get the job considered to be the next job 'up the ladder' so to speak.  I was working part-time in a cafe and doing an awful (well not really awful) lot of crochet and knitting. I had started designing my own patterns and wanted to use my blog to document this and also share my designs. 

Things have changed a lot in these last 8 months. Firstly I designed many patterns but only shared two, my crochet strawberry bunting and my teeny weeny crochet bunting, both available under the 'patterns' tab. This isn't me being selfish, this is just me being terrible at writing things down! Most of these patterns are just floating around in my head still and I really need to get them down before they float away. 

I also felt a lot of pressure to post new items a couple of times a week. I realise now that this is just not realistic, and it resulted in a bad bout of RSI, preventing me from crocheting for over a month, which to be honest I still haven't totally recovered from. This has probably had the biggest impact on my blogging. For one I couldn't knit or crochet and secondly I couldn't type! Recovery has been slow but I'm getting there- I just have to be very careful (more about this next week!)

Come Christmas I still hadn't got my coveted job, however, the more I thought about it the more I realised I didn't actually want that job in the first place. In January it was a case of either focus on science of focus on setting up my own crochet business. I chose crochet whilst I seriously considered my options. I also focussed more on blogging and actually managed to post 3 times a week for a while- it is still a bit up and down but I am blogging much more regularly.

So, what have I been doing more recently?

1- I got a sewing machine! Most of January's posts involve sewing. 
2- I have been selling my crochet at a market and am loving it!
3- I have officially started teaching crochet. This is one of the things I am most proud of and have been working really hard on. Despite an initial struggle to advertise my classes they are doing really well.

So, where does this leave my blog? How am I going to focus my blog? Will I focus it at all? 

What I would like to do is incorporate some regular features. I already have a 'Work In Progress Wednesday' feature which is focussed on 'me time projects'. These are projects I have taken on purely for the sake of enjoyment, that challenge me and make me learn new skills. I would also like to have a monthly interview feature (if you would be interested in being interviewed or writing a piece for my blog please get in touch!). I would also like to share some of my first-hand knowledge of setting up a crochet business, both the highs and the lows. Until now I never considered that I could impart any useful information to anyone, and that others would always know better than me. I think this has always been a confidence issue of mine but if I can go from studying cancer to teaching crochet totally off my own back then I think this last 8 months has taught me a lot. I now also have an interview for a job that I truly believe could be a life-long career (at least for now!).

I will leave you with some of my favourite bloggy pictures- one for each month. Thanks for reading. I really really really appreciate your comments and thought, and being part of this blogging community. 


JULY 2013


AUGUST 2013


SEPTEMBER 2013


OCTOBER 2013


NOVEMBER 2013


DECEMBER 2013

Blimey I didn't even post!

JANUARY 2014


FEBRUARY 2014


MARCH 2014


Monday 10 March 2014

#CraftBlogClub- February Challenge!

I only came across #CraftBlogClub when I joined the Twitter-sphere late January (I'm a bit slow on the uptake technology wise!). Started by Emma at Frugally Peachy it is a sociable network for all craft bloggers including a weekly twitter networking chat (using the hashtag CraftBlogClub of course!). Each month Emma sets a challenge, with this month's challenge being "I Re-Love You". This challenge is laid out here on Emma's blog but to sum it up you find something you once loved but has gone out of favour for whatever reason and change it in some way to make it used again. When I first saw it I couldn't wait to give it a go....what to do however??? 

I don't have masses of DIY experience, nor do I have masses of materials or equipment. What I did have however was a dress that just doesn't 'fit right'. I was on the look-out for a denim dress for ages when I came across this one in a high-street store. What more I had a voucher for said store so purchasing it was a no-brainer. I tried it on in the shop.....seemed ok.....wore it a couple of times and realized it had major problems! Well, two major problems. 

Can you see what I mean?


PROBLEM 1:

The back is a lot longer than the front so when I wear it the front is a few inches above my knees, with the back being almost knee-height. This meant that it hung really badly and the extra couple of inches on the back really dragged it down.


It has an open back secured by two small buttons. 


PROBLEM 2: 

The button loops are bigger than the buttons. Cue every time you move they undo. Pretty embarrassing if you are out!


SOLUTION(S):

My up-cycle isn't as drastic as some of the others as I really like the dress the way it is (minus the two major problems of course). I like how it is plain and simple, how it can be dressed down or jazzed up with a colourful brooch.

First step was sorting out those pesky button holes. As I can get the dress on and off over my head without undoing the buttons anyway I just sewed the button loop closed around the button. Now there is no way they can come undone again! Sorted. Now for the trickier part....

I think that the real problem with this dress is that it was made poorly in the first place. I'm no dressmaking expert but I can see that the fabric has been a bit distorted by the central seam, and that the fabric is not lying flat at the hem. I recently saw a Great British Sewing Bee video online teaching you so take up jeans whilst retaining the original hem so decided to use this method on the back of the dress. Having pinned up the back to the required height (bit tricky as the fabric wasn't straight either!) I machine-sewed very close to the original hem. I then folded the hem back down, pressed and cut off the excess fabric using pinking shears to prevent fraying. 


Here is what the seam looks like from the wrong-side...


You can just make out my row of stitching here


A picture of the right side. You can only just see the new line of stitching just above the original orange stitching.


........and here it is!


I'm pretty pleased with this. It is a massive improvement from before. The hem is still not entirely straight as I can see a bit of the back hem poking out on the right hand side. However this is not noticible when I tried it on. 

RESULT:

This dress now hangs nicely and I no longer risk exposing myself when the buttons decide to pop un-done! I will definitely be wearing this dress more regularly. I wish I had done this sooner as these small changes have really made a difference. 


I can now officially announce that I Re-Love this dress!

I will be sharing this post here on frugallypeachy.co.uk so please check out everyone else's projects. Also check out Emma's blog as it is fab and one of my new favourites! Apologies for a lack of pictures of me in the dress I had no-one to take them today, and also apologies for being so late on this challenge- you know how it is!

Take care,

SS xx

Wednesday 5 March 2014

Work In Progress Wednesday........and I've completed something!

Afternoon! Can you remember when I started this? It's a cross stitch for my sister, Rose. I had to keep quiet about it as it was for her Birthday and I've got myself in hot water before for posting presents which the recipient then saw (luckily she was good about it!). It went in the post yesterday though so I think I'm safe.

A couple of you guessed it was a heart....pretty close.....but no, it's a rose!


I actually missed her birthday as it took me so long to make. Far far longer than I ever anticipated....I even had to take it on holiday. I'm really pleased with it though- I think it was worth the time and effort.

I wanted to display it somehow so decided to use the embroidery hoop. I'd seen some fab crochet-decorated embroidery hoops in Simply Crochet Issue 14 and thought I'd give it a go.

I chose a couple of DK yarns....a pink and a sparkly white


....white on the inside with a pink trim.......only thing is I didn't like it. Not one bit. It was too big, too frilly and just wrong. Wrong for the cross stitch and not my sister at all. It would be totally fine for another project, just not this one.


The white was too much, as was the size. In the end I went with a simple picot edging using the pink.


.....and I really loved it. It also looked great hung up :-)


What do you think? I'm really pleased with it, and I really hope my sister likes it too!

SSxx

Joining in with Ginny for the first time in an age........