1 2 3 4 5 6 7 -->

Saturday, 26 July 2014

In pictures


The last couple of days in pictures. 

More next week,

SSxx

Tuesday, 22 July 2014

Work In Progress Wednesday

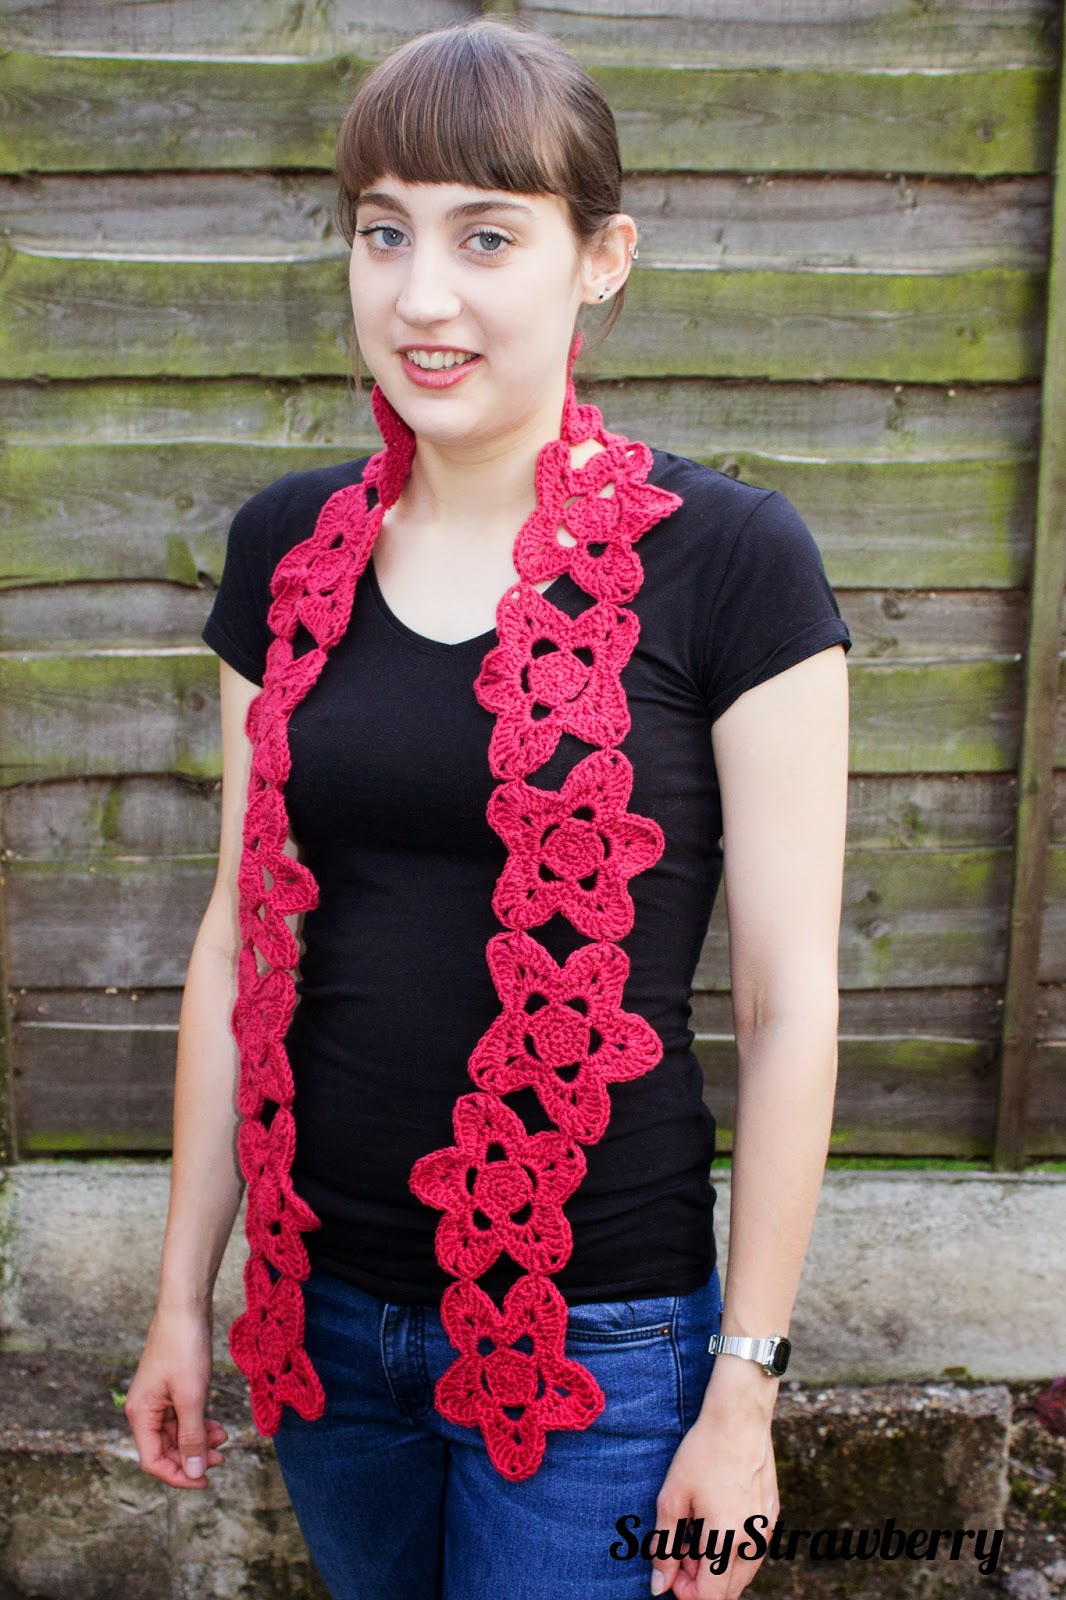
I've been very busy writing up the patterns for my flower scarf and diamond patterned bobble hat. The only thing left to do was have a little photoshoot so here goes.....


Jenny scarf by SallyStrawberry

Jenny Scarf by SallyStrawberry

Jenny Scarf by SallyStrawberry

 I really love how it has turned out, and I can't wait to share the name and story behind this pattern (and the pattern) with you very soon! 

Linking up with the Small Things today.

SSxx

Learn to crochet- Chain Stitch


Once you have mastered the slip knot (and please don't worry if it takes you a while) the chain stitch is without a doubt the most important crochet stitch. Not only is it used in lovely lacy patterns it forms the foundation of loads of crochet projects. So, whether you like it or not it is a stitch you will have to learn. I hope these step-by-step photos can guide you through easily.

First though, a little bit about holding the yarn and hook. 


This is often the trickiest thing to conquer for those new to crochet but is the most adaptable. Really, you can hold the yarn and hook however you like as long as you do so in a way that ensure even stitches in your work. 

The below is just a suggestion but experiment and find the best way for you. If you are right-handed the most common way of holding hook and yarn is hook in right hand, yarn in left (and if you are left-handed to hold the hook in your left hand and the yarn in your right). Many people however hold both hook and yarn in the same hand (long-term knitters for example!). What you are aiming to do here is hold the yarn so that it is taut, giving you more control with your stitches. 


1. Wrap the yarn around your little finger– some people wrap once, others twice.
2. Close your fingers to hold yarn and hold it taut with your index finger.
3. This is the most important part. Always make sure you have hold of the slip-knot or the stitch nearest the hook. This ensures even stitches. 


Now onto the chain stitch.....


1. Hook the yarn, or wrap it over the hook (called ‘yarn over’ ) and pull it through the stitch already on the hook. 

2. You have one chain stitch!Remember to re-adjust so you are holding the yarn at the hook. Continue step 1 until you have as many chain stitches as you require. 

3. Here is the top view of the chain stitch. Each ‘V’ is a stitch.

4. Here is the view of the bottom. So, for every chain stitch there is a ‘V’ on top and a bump on the bottom!

When counting your chain stitches, each 'V' is a stitch, as illustrated below. The slip knot you make to start off your chain does NOT count as a stitch!


Although it looks easy, it can take a bit of practice to get your chain stitches looking even, so just keep trying and you will get there in no time!

Up next, the double crochet stitch! Happy hooking!

SSxx

Friday, 18 July 2014

Friday Favourites.......Etsy finds


....Etsy finds

I love a good browse on Etsy as much as the next person, and can waste wile away hours just searching for random bit and pieces.

Here are a few of the pieces that have caught my eye over the last couple of weeks. 

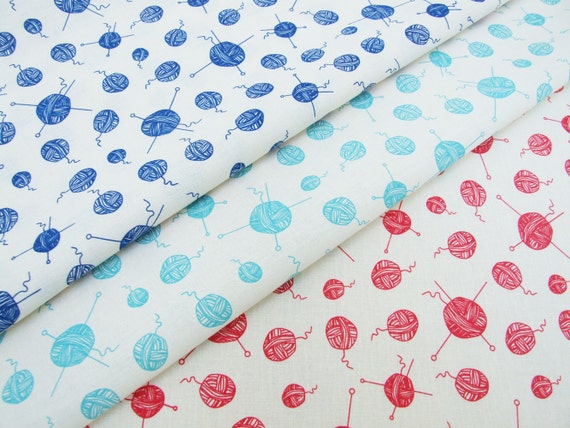
1. This gorgeous hand printed fabric by Sarah Waterhouse would be great for a needle case or project bag. 


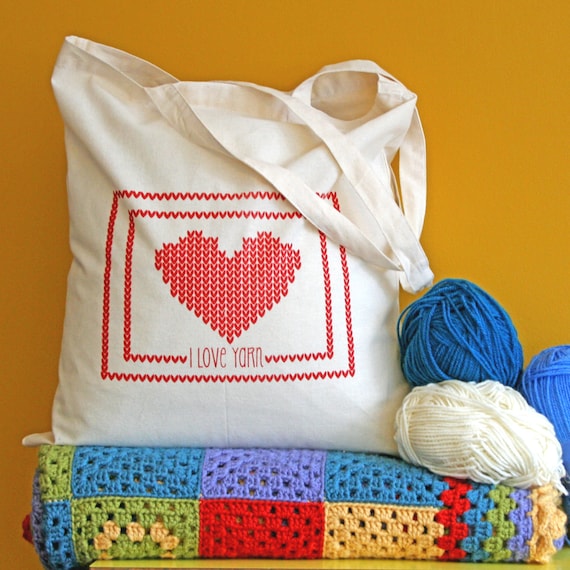
2. I just LOVE this bag (almost as much as I love yarn) by Wood Paper Scissors UK


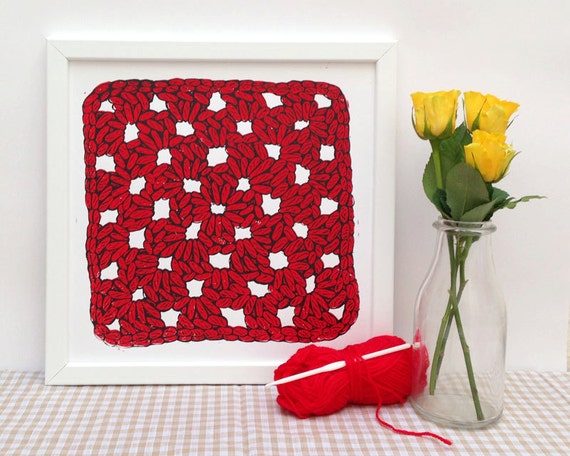
3. This one is going on my Christmas list if I can wait that long! This granny square linocut print by Woah There Pickle  is simply fab. Check out the other prints in Vicky's shop- there are some gooduns!


Now onto some crochet. These two crochet patterns make me smile, a lot.

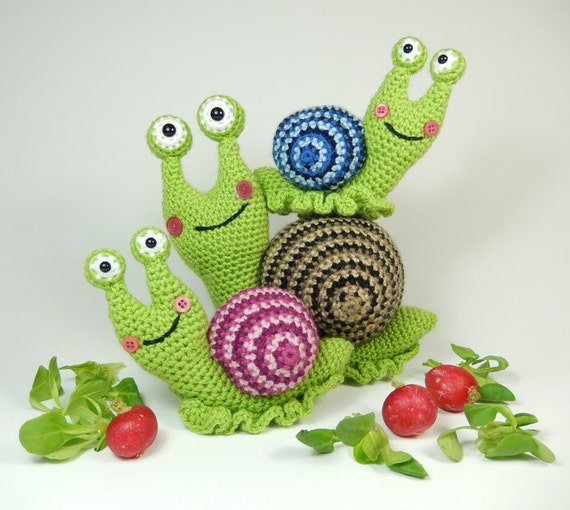
4. Shelley the Snail and family by moji-moji design. My nanny love snails so I will definitely remember this pattern come Christmas. Janine has some brilliant amigurumi patterns on her page, from ice-creams to aliens so do have a look. 


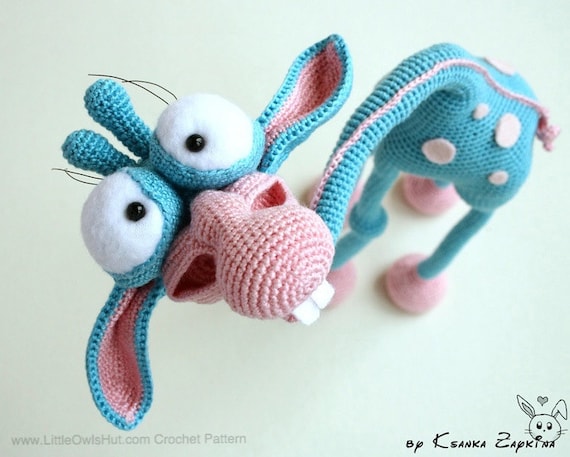
5. Meet George, the 7 year old Russian Giraffe, looking for a companion. How can you resist those eyes! George is the wonderful creation of LittleOwlsHut. Meet more friends over in their shop.


Here you are then. I hope you like these Etsy finds! I hope you all have a great weekend!

SSxx

P.S. you can see my other Friday Favourite posts here, here, and here

P.P.S this post was in no way sponsored. I just love this stuff and wanted to share it with you!

Thursday, 17 July 2014

Learn to crochet: the slip-knot


So a whole post dedicated to a knot you might say.......

The slip-knot is the starting point of every crochet project (more or less), and can be a bit tricky to master when you first start to crochet. However, if you follow these 4 simple steps you will be slip-knotting in no time.

If you need a recap on the kit required to start crocheting, look no further than this post.

1.  With the tail end of the yarn (the end of the yarn as opposed to the 'ball' end, or the working yarn) hanging downwards make a loop over your index and middle finger from front to back. When you go back over the top lay the top yarn over the bottom yarn.


2. Pull the bottom yarn at the top of the loop through. Put your hook through this loop.


3. Gently pull the tail end of the yarn to tighten the knot on your loop.


4. Don't pull it too tight though- you want to leave a little gap between the knot and your hook. This will mean your stitches will be easier to make later.


This can be a bit fiddly to begin with but persevere! Up next, holding the yarn and the chain stitch!

As before, please let me know if you have any problems or would like to ask any questions.

SSxx

Wednesday, 16 July 2014

Work in progress Wednesday


This week my crochet has been a bit lacking unfortunately. I think I overdid it weekend before last working on my contribution to the 'Wool Against Weapons' scarf. Please do read more about this here. With support form the CND, the aim is to join a (pink!) 7 mile long scarf to protest about the UK's ongoing involvement in nuclear weapons. The pieces are supposed to be 60cm wide and a meter long. I managed half over three days, so no wonder my wrists were sore (as some of you may know I have to be a bit careful with my wrists now after an overuse injury caused by too much crochet). Not only are my wrists a bit sore, but I think it is the worst piece of crochet I have ever done!

Take a look....


See how it is curved at the bottom? This is a combination of the chain stitch being too tight, and not counting stitches properly at all. I have also managed to increase and decrease randomly throughout when adding the more fancy stitches in the white. I really hope I get it finished in the next week or so in time for the deadline. If not, Chloe gets a new blanket!


Photo by my sister on her iPhone I do believe.

In other things, I'm currently writing up the pattern for my diamond hat, and waiting the opportunity to have a little photo shoot for my flower scarf.


I can't wait to share these two patterns with you once they are complete! I'm linking up with Ginny over on Small things today. Pop across and see what everyone else has been making.

Have a great day,

SSxx

Tuesday, 15 July 2014

Learn to crochet: the kit- you will be surprised by how little you actually need!


Hello and welcome to my new 'learn to crochet' blog series. This series will provide beginner crocheters with all the instructions they need to get crocheting.

I have been teaching crochet classes for a year now but unfortunately in recent months, due to various circumstances I have been unable to hold classes. I generated a plethora of teaching materials for my classes, and I don't want them to go to waste. Therefore, I will be converting my materials to blog posts for you all to benefit from. I hope you like them and find them useful, but please please let me know if there is something you don't understand and I will try and help you out. Equally, if my posts don't cover something you are desperate to know, get in touch and I'll see what I can do! 

This post is just to ease you in- the equipment you need to start crocheting. As you can see you really don't need very much at all:

1- Yarn

2- Hook

3- Tapestry needle for sewing in those pesky ends

4- Scissors

That is pretty much it to get you started. There are other things which can be useful, such as stitch markers and a ruler/tape measure but these are the absolute basics.

You can pick hooks up for less than £1 in some shops and depending on the quality of the yarn you choose, you can pick up some real bargains here too. 

Before you get carried away one quick point about yarn weight and hook sizes. The hook size you choose (usually marked in millimetres in the UK, and letters/numbers in the US) dictates the amount of yarn used in a stitch (so in effect the size of the stitch)- the bigger the hook the more yarn and the bigger the stitch, and the wool weight will effect the density of the resulting crochet fabric- thicker wool= a denser fabric. Therefore, it figures to use a hook size appropriate to the yarn weight. 

I will talk about this in more detail later but just to get you started I would recommend using a double knit (DK) or aran weight yarn when you are learning, with a 4mm (US size 6 or G) or 5mm (US size 8 or H) size hook respectively. This is a guideline only, but will do to get you started.

Now, what are you waiting for?!

SS xx